latest instagram pics

Showing posts with label tutorial. Show all posts

03 November 2011

hump day nuggets: dinosaurs

hump day nuggets: little bits of the season in photos and words about the last week

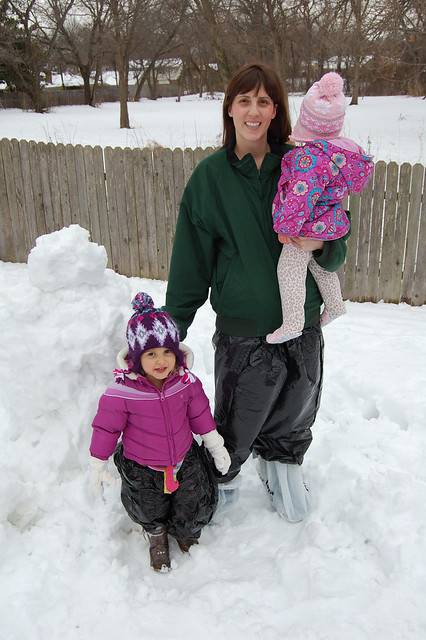
Our car dvd player broke a few months ago. At first I wasn't sure how I was going to survive without it, but it's turned out to be a really great thing (at least for around town driving). We talk, the girls look out the window and point stuff out, they make up silly games and laugh at each other. All in all, it's been a good thing.

We discuss our regular landmarks every time we drive by - the pet store where we get Charlie's dog food, the park, Daddy's work, Sam's, the grocery store, etc. I am continually surprised at how much they notice and how aware they are of where things are around town!

In the car yesterday, we had the following conversation as we drove by a preschool (with a playground) near our house.

C: There's a school park!
J: Mommy, some day I will go to school.
M: Yes, you will.
J: Beetles, someday I will go to school. Mommy, will Beetles go to school?
M: Yes, she will. Someday.
J: Yeah! Someday you will go to school Beetles! We will go to school together. And I will hold you for a little bit so you won't be sad.
C: ok :)

Oh, the love between those two. It's strong, sweet, and just continues to grow. Love it.

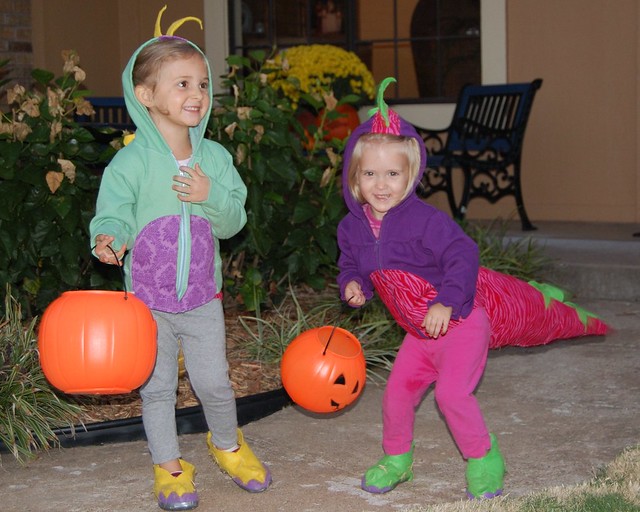
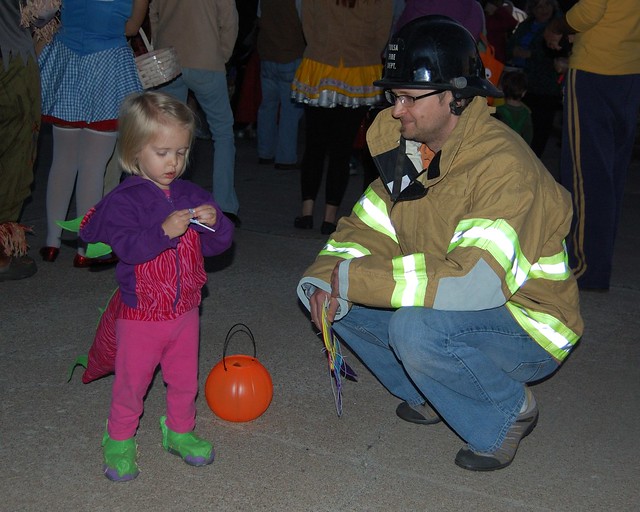
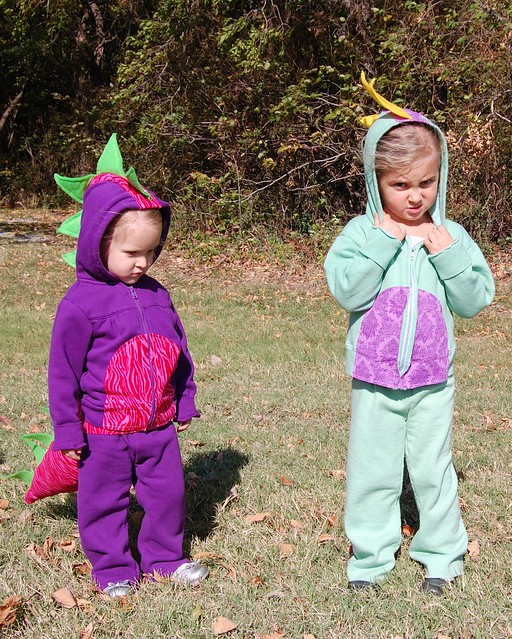
Here's our 2 dinosaur girls on Halloween.

DSC_0027

DSC_0028

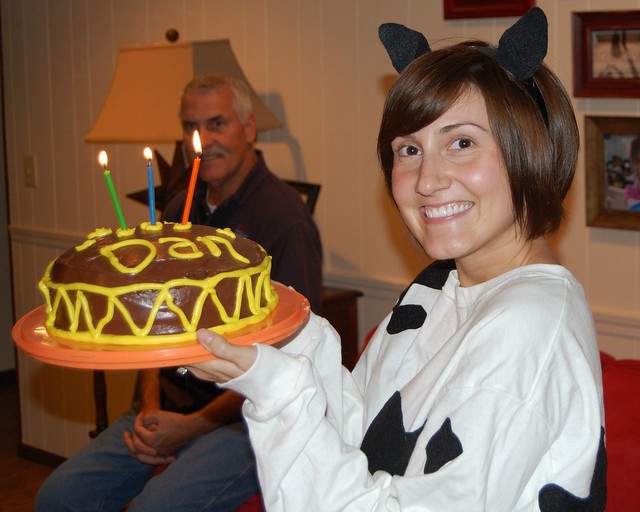
We had a little joint birthday celebration for Aunt Deb and and Aunt Dan whose birthdays are right around Halloween.

DSC_0014

We participated in the neighborhood parade and did a little trick or treating before heading home. The girls really enjoyed seeing other people dressed up in costumes. Corinne woke up the next day talking about a little girl who was dressed as a banana. Kind of funny cause that's what she was last year :)

DSC_0060

Here's a video of Corinne shaking her tail. She had us all cracking up!

DSC_0031

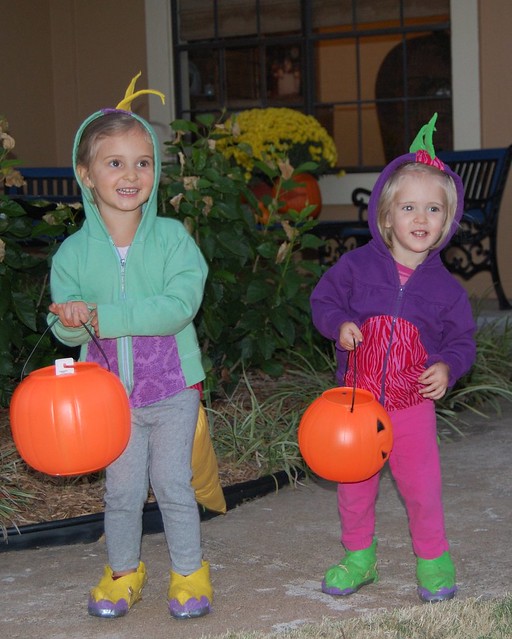
The pictures I got on Halloween weren't great (lots of blurry ones cause I was trying not to use my flash) so I took the girls over to a field near our house the next day to try to get a few good pictures. They weren't the most willing participants so I have a lot of pics that look like this.

DSC_0008

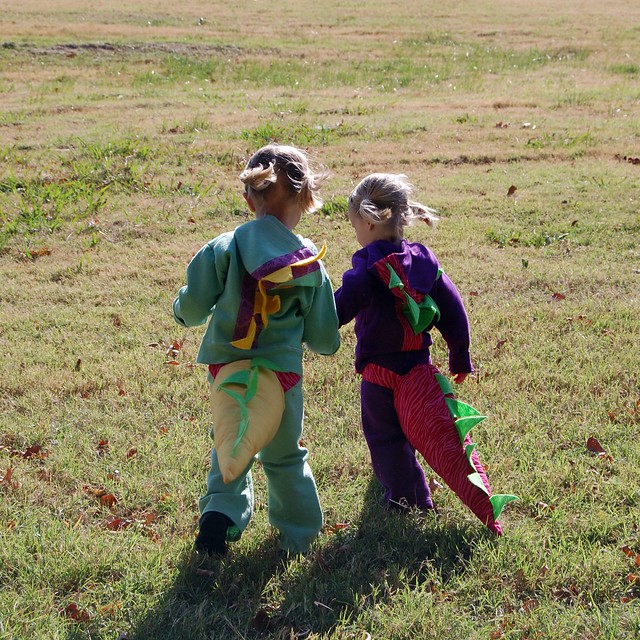
Oh well. I tried! My favorites were the ones I snapped on the way back to the car. They were motivated by the candy that waited for them once they got buckled into their car seats :)

DSC_0067

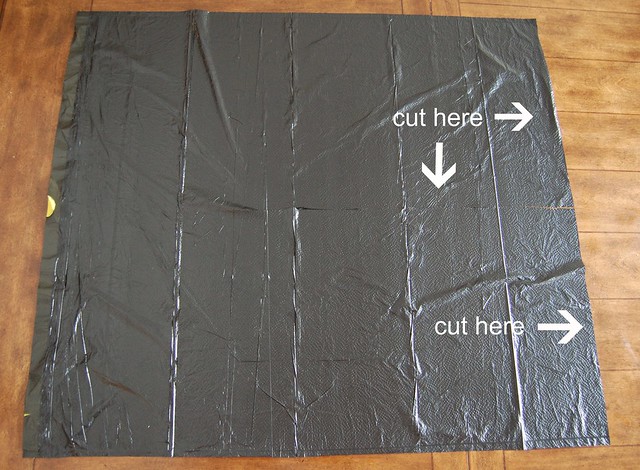
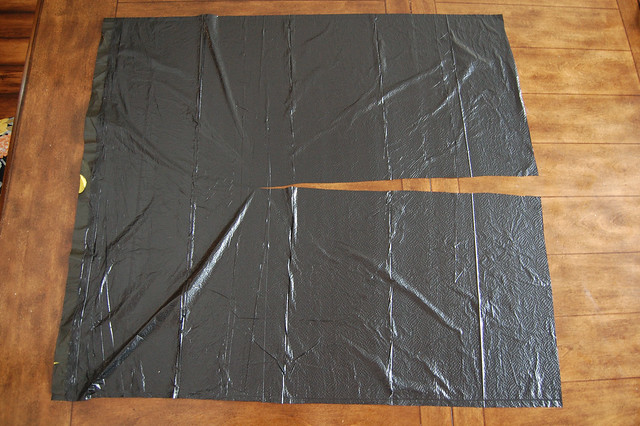
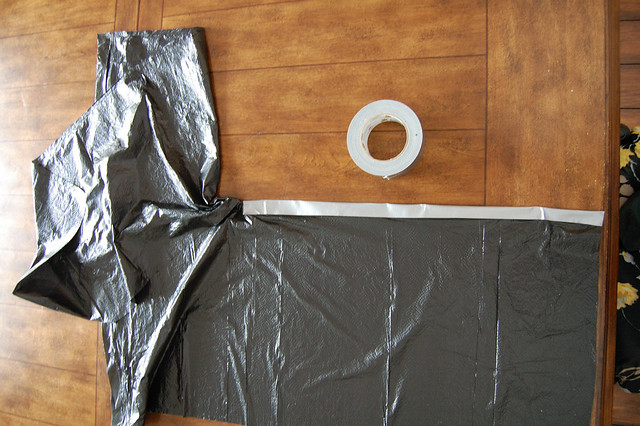
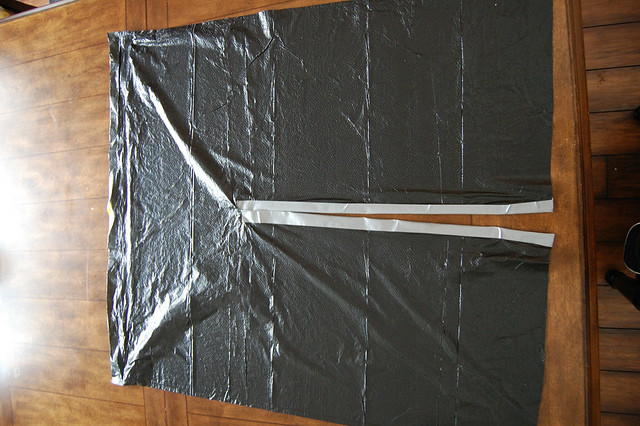
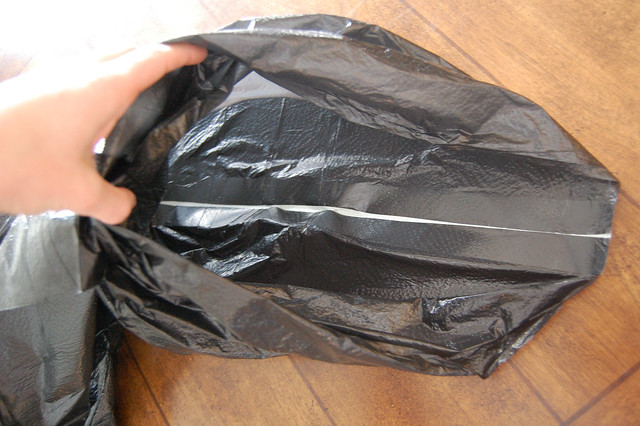
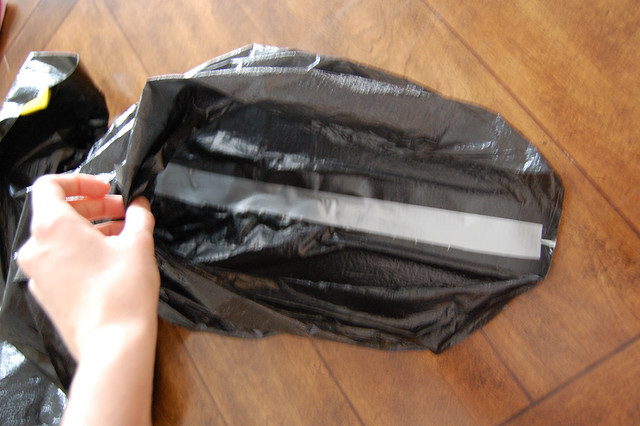
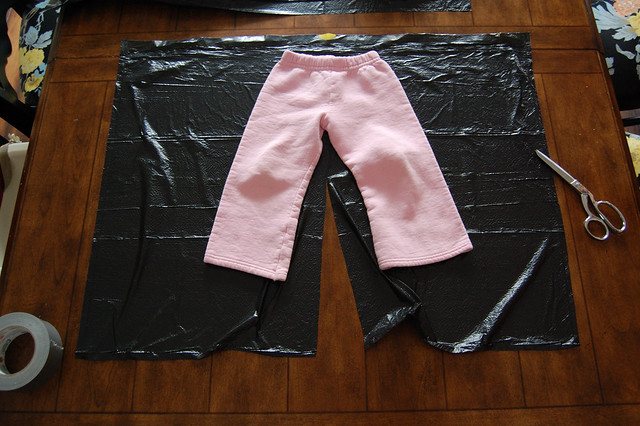
I made their costumes. Once I found the tutorials for the hoodie and tail online, I just had to make them! Linking to the two very talented women who took the time to share tutorials.

I didn't plan this, but this picture does a good job of showing the front and back views of the costumes.

DSC_0006

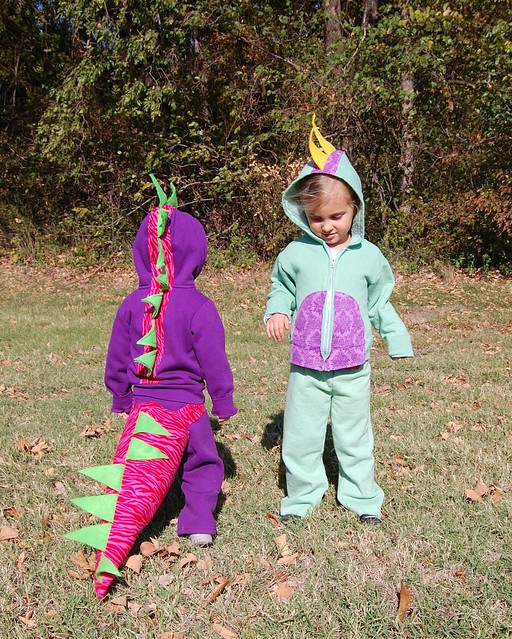
I am most excited about the fact that even now that Halloween is over, the girls can still wear their sweatpants and jackets for the rest of the winter just for fun!

More pics at Flickr.

Not much to say tonight. My pillow is calling my name ...


Note: Nugget format inspired by the very inspiring Nici over at Dig this Chick.

07 February 2011

trash bag snow pants

Last winter I put Target bags over Juliet's shoes to keep them dry because she didn't have any snow boots. My sisters and I did this growing up. It seemed like a totally normal thing to do (is it not?) ...

CIMG7309

This winter, I took it to a new level. Trash bag snow pants. She actually had boots, but we got a lot of snow - 14 inches - and I knew the level of the snow would be up over her boots and that just seemed like it would be a cold wet disaster.

So I made her some waterproof pants!

It's so easy and fun that I thought I'd share.

Humor me with this tutorial, ok?

All you need is a trash bag, scissors, and some duck tape.

I used a 33 gallon drawstring trash bag, but you could use a smaller bag, especially if you were making them for a small child. I don't think the drawstring is a necessity either. Packing tape would likely work just as well too.

Simply cut.

DSC_0103

DSC_0102

And tape.

DSC_0104

DSC_0105

Check the inside of your pant legs. If you have any gaps, you can place tape over them like this.

DSC_0108

DSC_0109

Sorry for those blurry photos.

For adult sized pants, you are done! Cut the drawstring at the front opening and tighten and tie at the waist. I also put some rubber bands around the ankles, but you could stuff the bottom inside snow boots as well I would think.

If you are making child sized pants, use some regular pants as a guide to cut the length. Leave them long.

DSC_0107

The first time I made a pair for Juliet, I also cut up the sides of the bag to make the width of pant legs smaller. I did not do this the second time and both worked fine. If you don't, the pants will have a baggier look. hehehe

If you do, and you are using a drawstring trash bag, just make sure to reattach the drawstring pieces to each other so the drawstring will still be functional. I just pulled the drawstring pieces out of the loop at the top and taped them together.

Here is the first pair, made to fit a bit slimmer.

DSC_0015

And the second pair. Tied in back.

DSC_0115

And in front.

DSC_0116

Rubber bands around her boots and she's ready to hit the snow!

DSC_0111

Sporting our pants in the snow.

DSC_0207

I'm sporting bags on my feet too because I had my post surgery walking boot on. Still wearing it some ...

03 February 2011

heart garland tutorial

I have seen a lot of different Valentine's Day decorations out there in blog land, and while I contemplated making this beauty, I opted for a more kid friendly creation that Juliet could help me with. Besides, Ashley's required an old book and cute scrapbook paper - neither of which I had - and I didn't want to dig my sewing machine out of the hall closet.

Really half the fun of crafting for me is trying to use what I have around the house. In this case, we had some finger painted construction paper, some beads, and some yarn (I actually unraveled something I had started to crochet a few years ago!). I figured surely I could make a garland out of these supplies!

JHeartFace.Jan31.jpg

So, I didn't really have a plan for this. It just sort of evolved from one thing to the next and took multiple days to complete. The stack of finger paintings sat on the counter for a week before I cut the hearts one day while the girls ate, etc, etc. Juliet helped me some, but I did a lot on my own too. She's only 2 and her attention span just isn't there yet. Even if she only helped me string 8 of the hearts, I still like that she helped because she totally owns the garland and is so proud of our creation.

DSC_0081

First we finger painted on some construction paper one day. We used red and white paint on red, pink, and white paper. You wouldn't have to do this step, but it was something that Juliet could do with me, so we did. You could also use scrapbook paper or felt. So many variations!

Then I cut hearts of different sizes out of the paper. My hearts were really wonky and misshapen. I could not put heart cutting on my resume. But in the end it didn't seem to matter, so don't worry if yours look wonky too.

DSC_0078

Cut small hole in each heart, either using a hole punch or small scissors. I didn't put the holes in the same place on each heart for some variety, but made sure they would all hang right side up.

DSC_0083

Measure and cut a piece of yarn. You will want to cut it a little longer than you'll need (for the loops around each heart), but if it's too short, you can always just tie some more yarn on later.

Wrap a little bit of scotch tape around one end of the yarn to make stringing the beads and hearts on easier.

You are ready to start stringing your garland!

The ONLY slightly tricky thing about this entire project is that you have to work backwards as you string your hearts. In other words, when you string on your first bead and heart, you will need to slide them down the entire piece of yarn to the other end. This makes for a lot of sliding at first, but I couldn't figure out another way to do it ...

So, then string a bead.

DSC_0093

And then a heart.

DSC_0094

Then slide the bead and heart across the yarn to where you want them.

DSC_0095

Then thread the end of the yarn back through your bead.

DSC_0096

Pull yarn through to make your loop tight (but not too tight) around the heart.

DSC_0098

Repeat until your garland is full of lovely hearts!

DSC_0103

Hang and enjoy!

DSC_0108

Like I said before, there are so many possibilities. Different paper, maybe some glitter, maybe a delicate one made with mono filament rather than yarn. You could totally just tie knots if you didn't have any beads.

I am currently scheming a green clover filled garland and an Easter egg garland in my head!!

Apparently, I LOVE MAKING GARLAND :)

Go and make one. You will love it too!!!